Skip to content

FOUNDATION SLAB
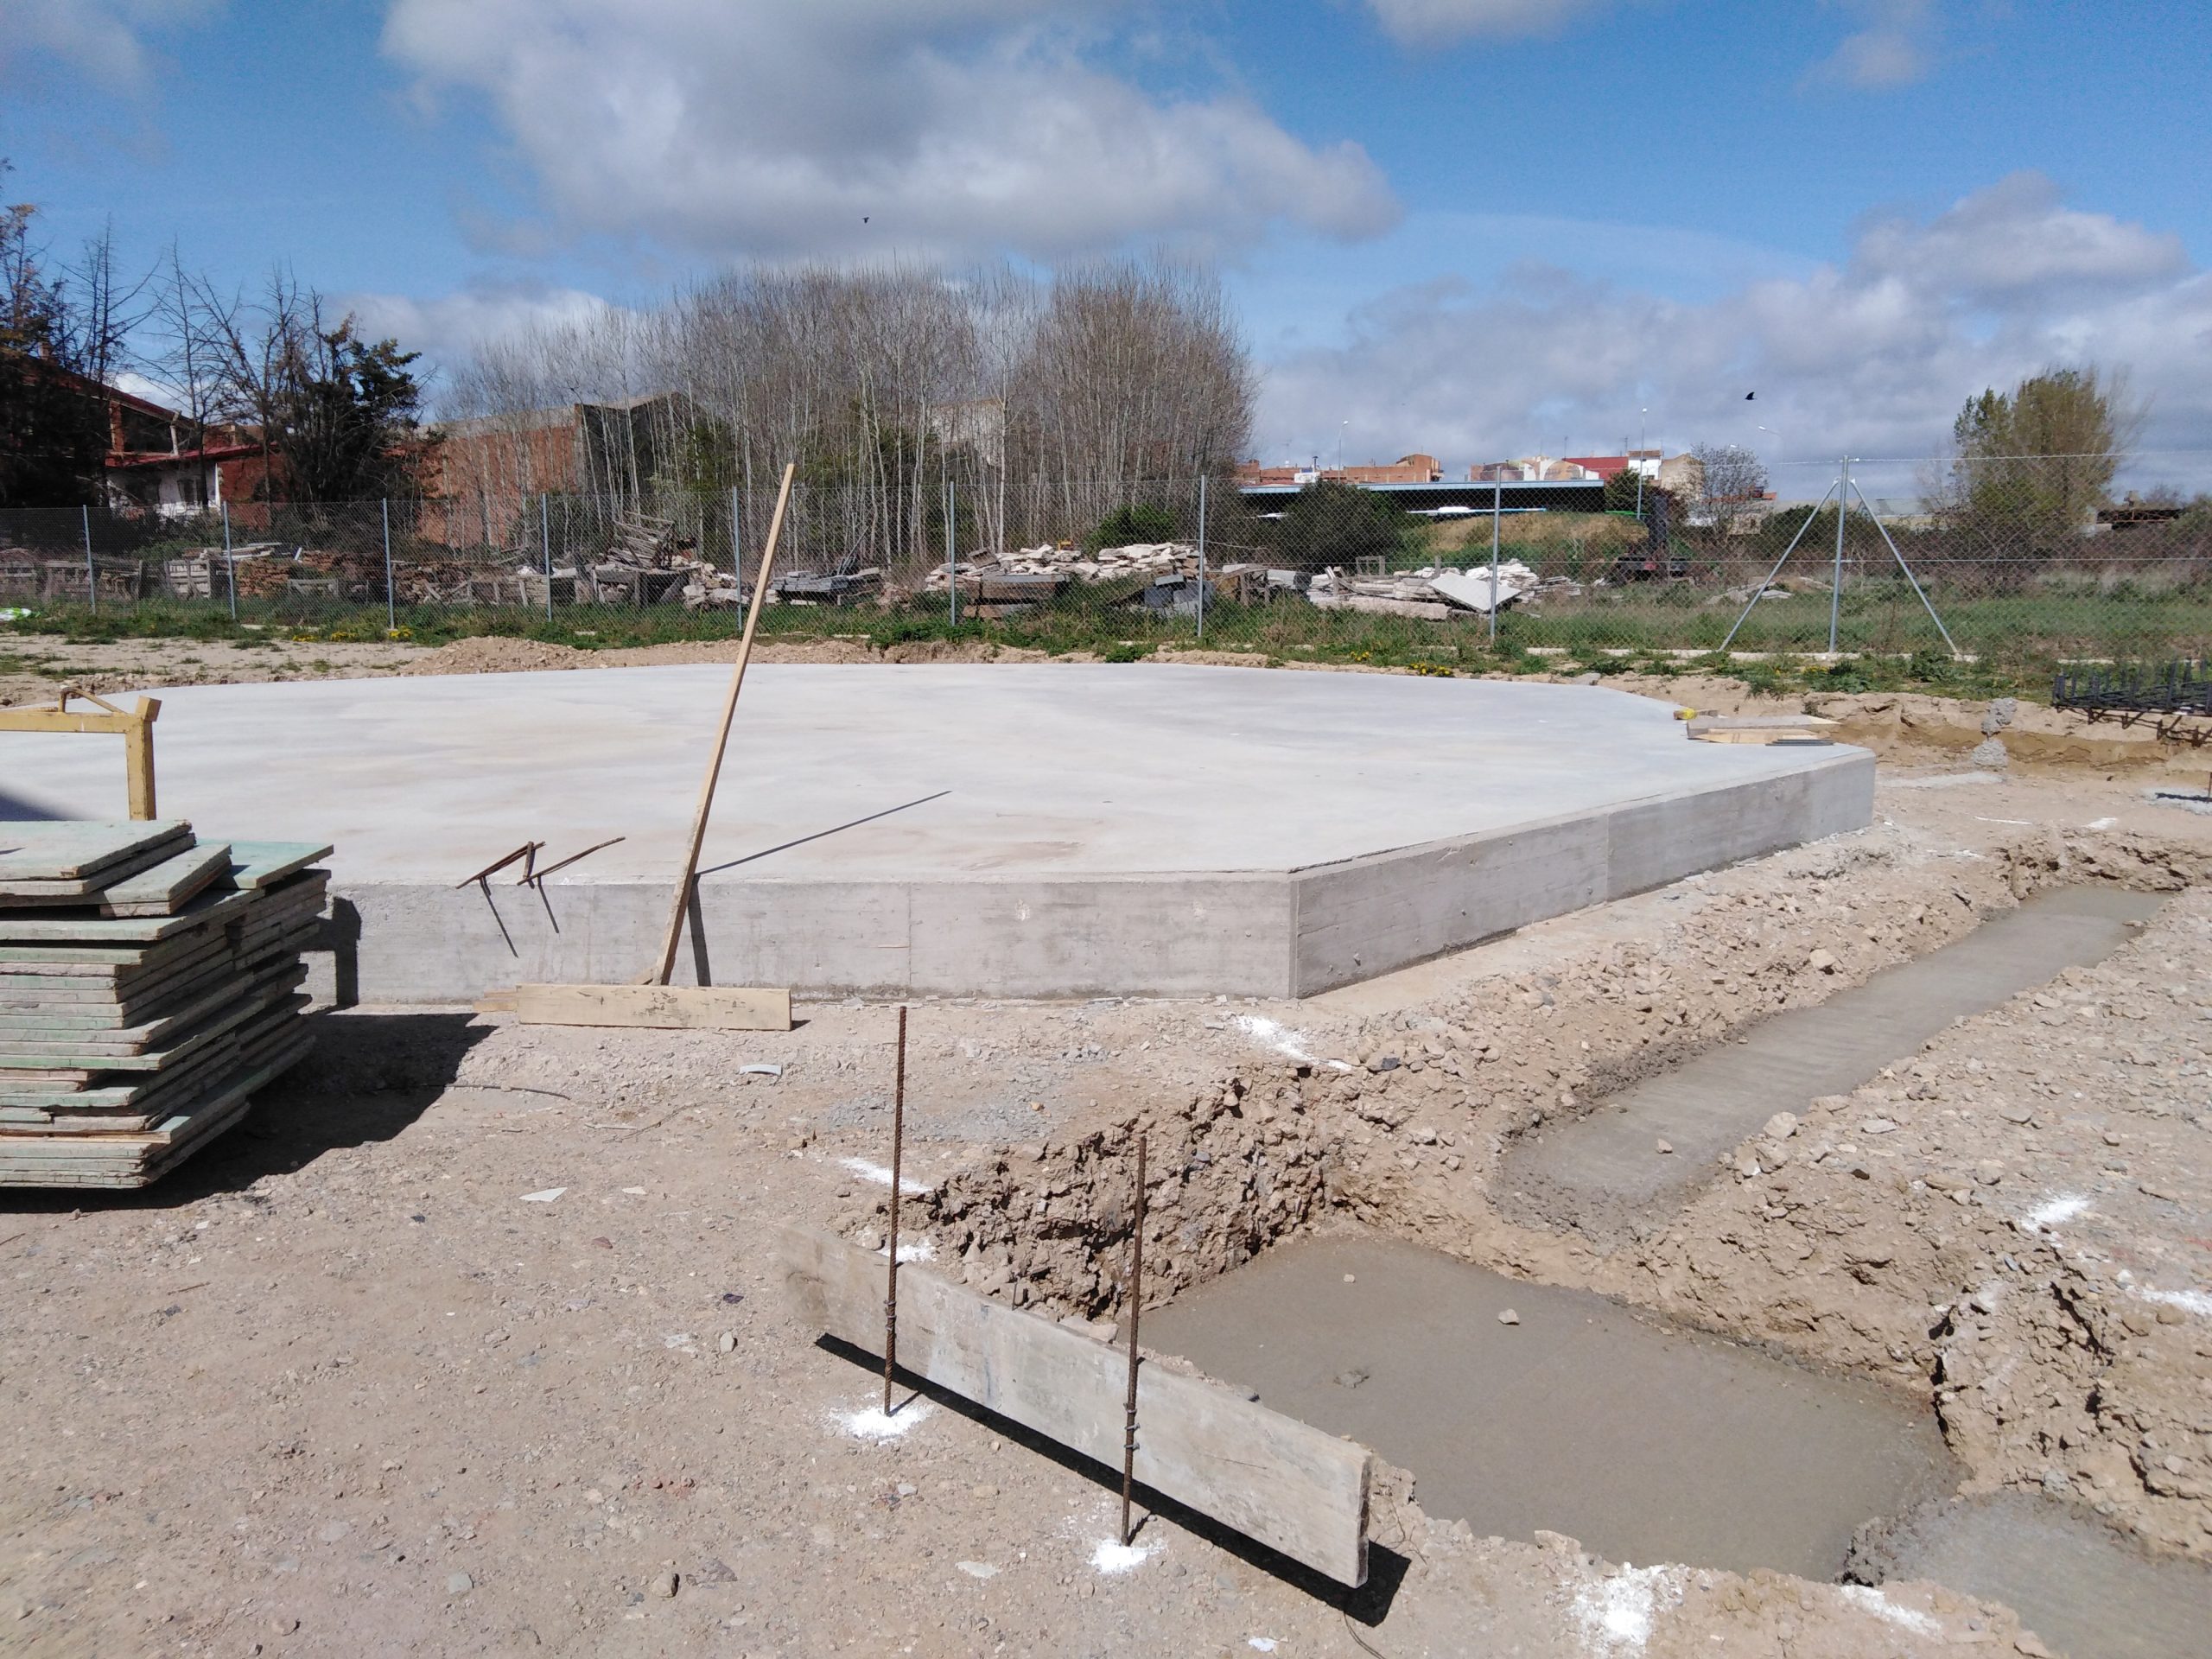
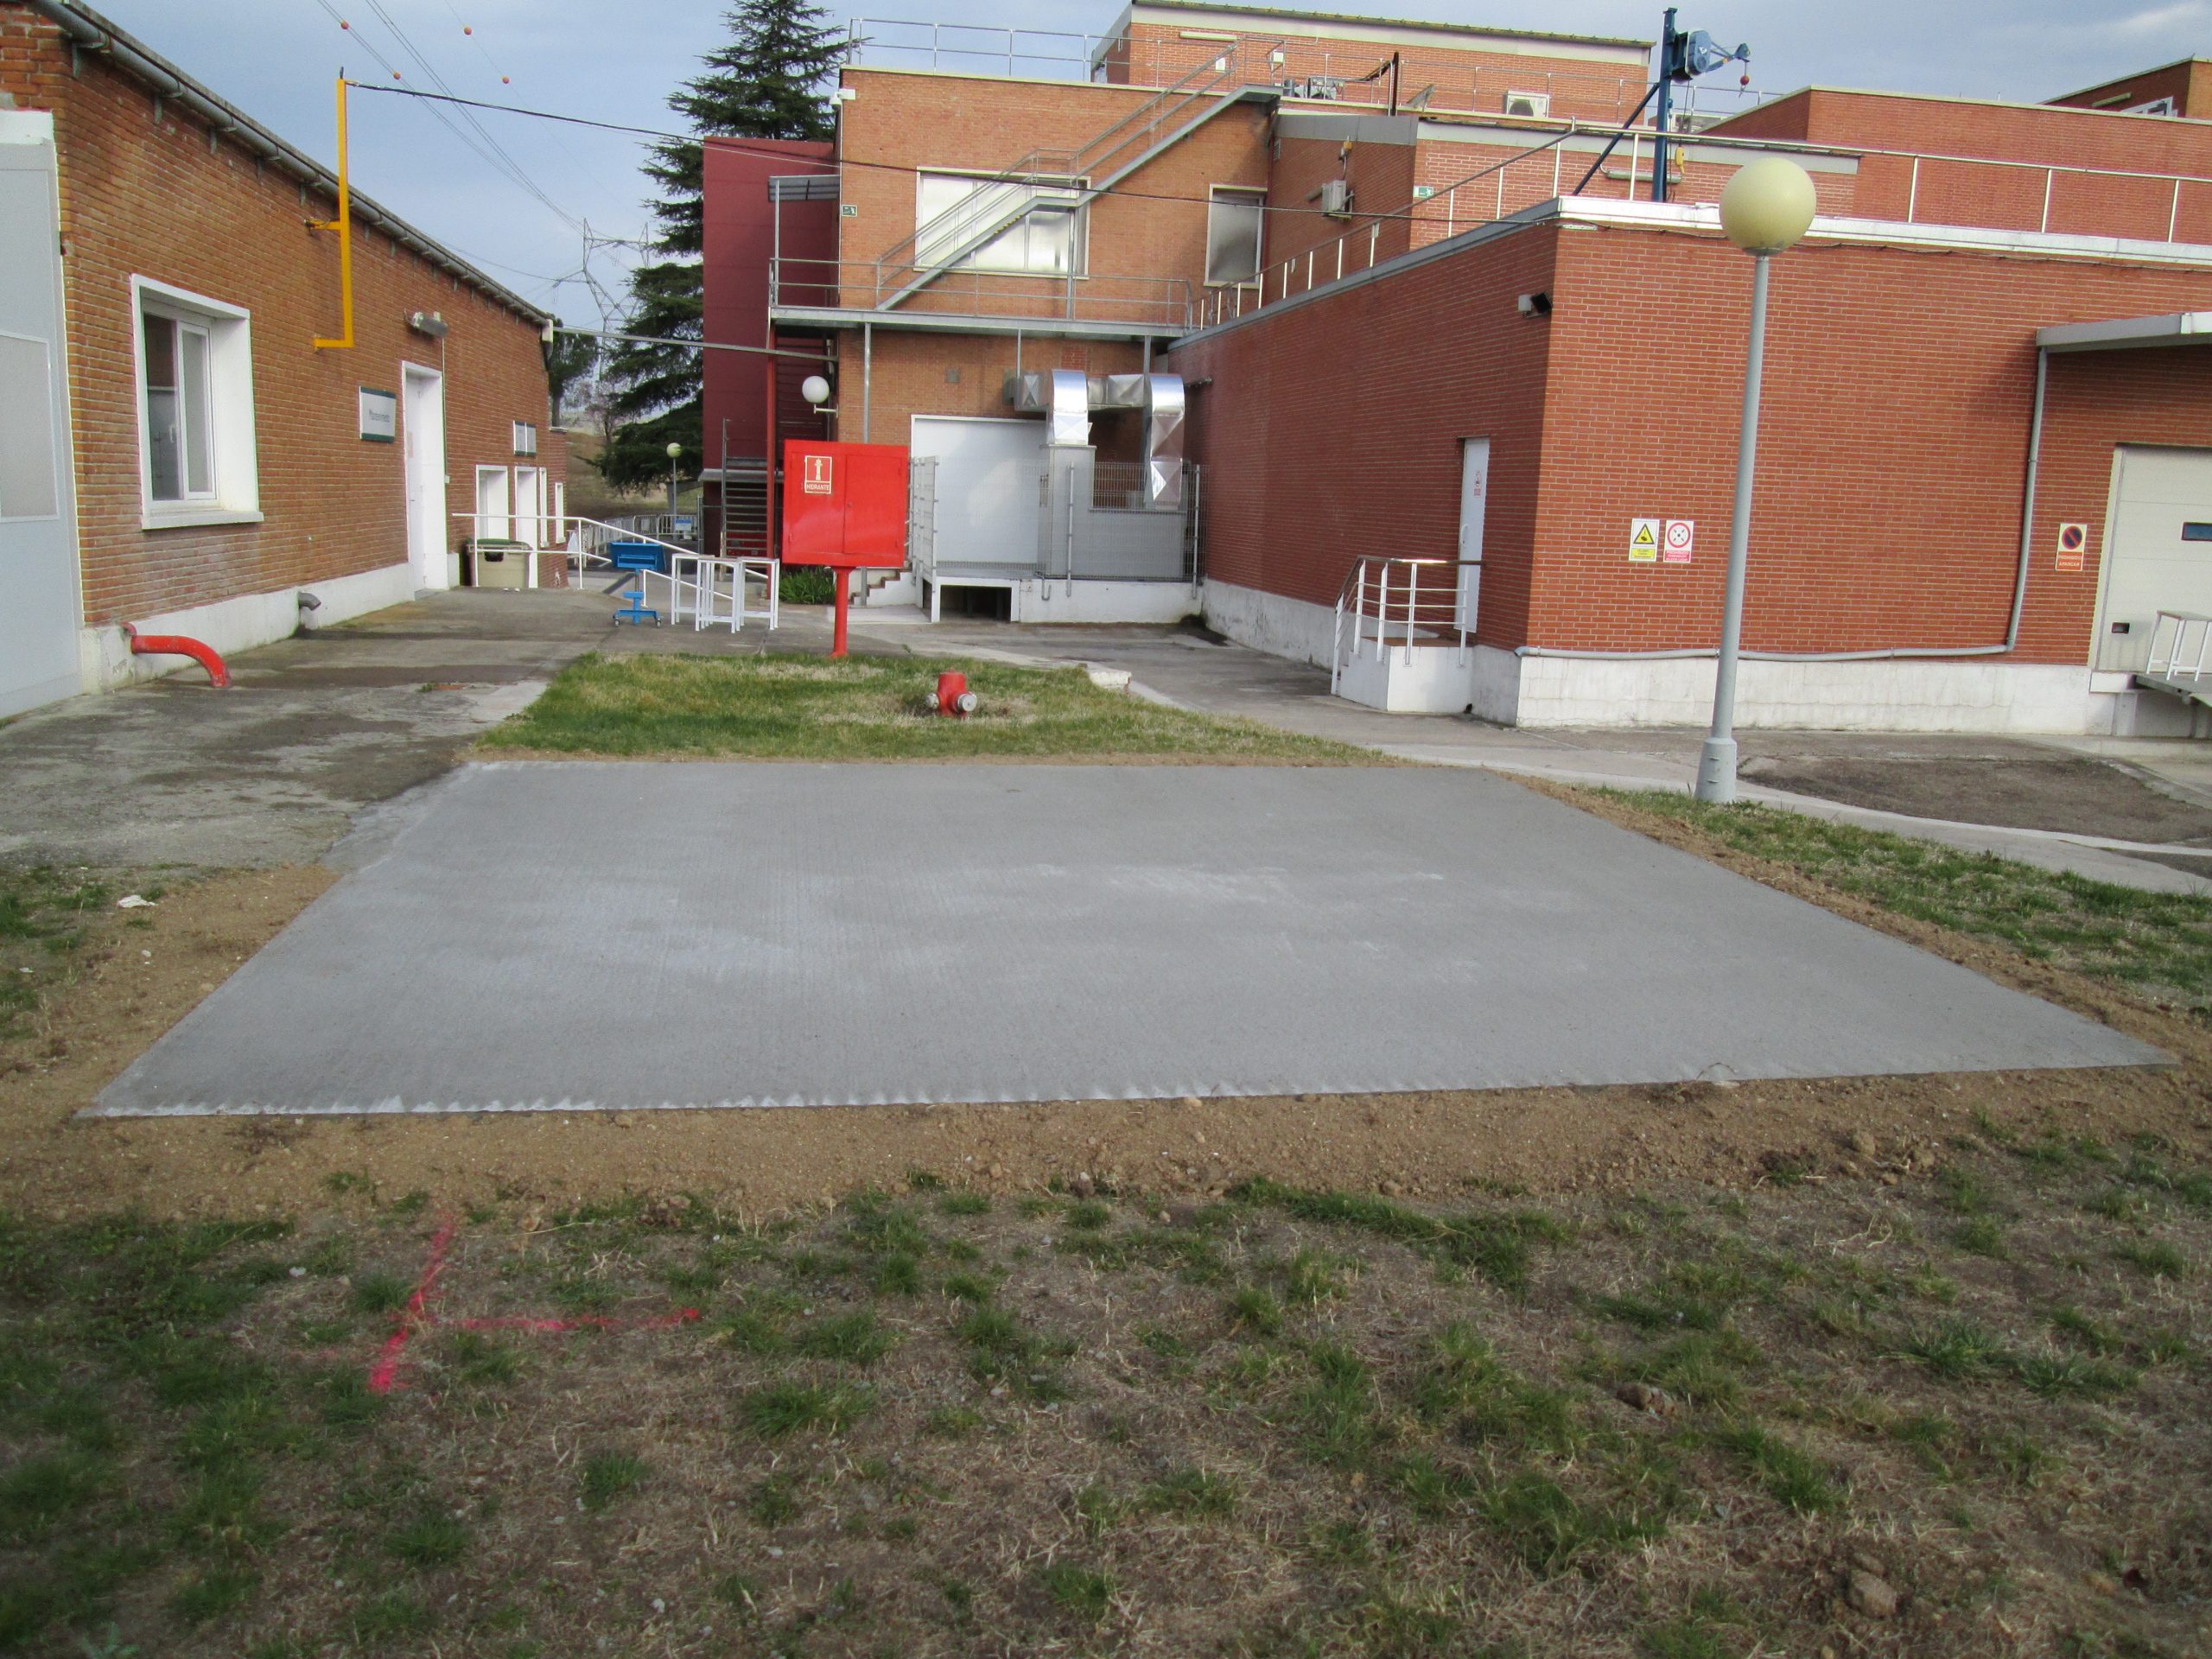
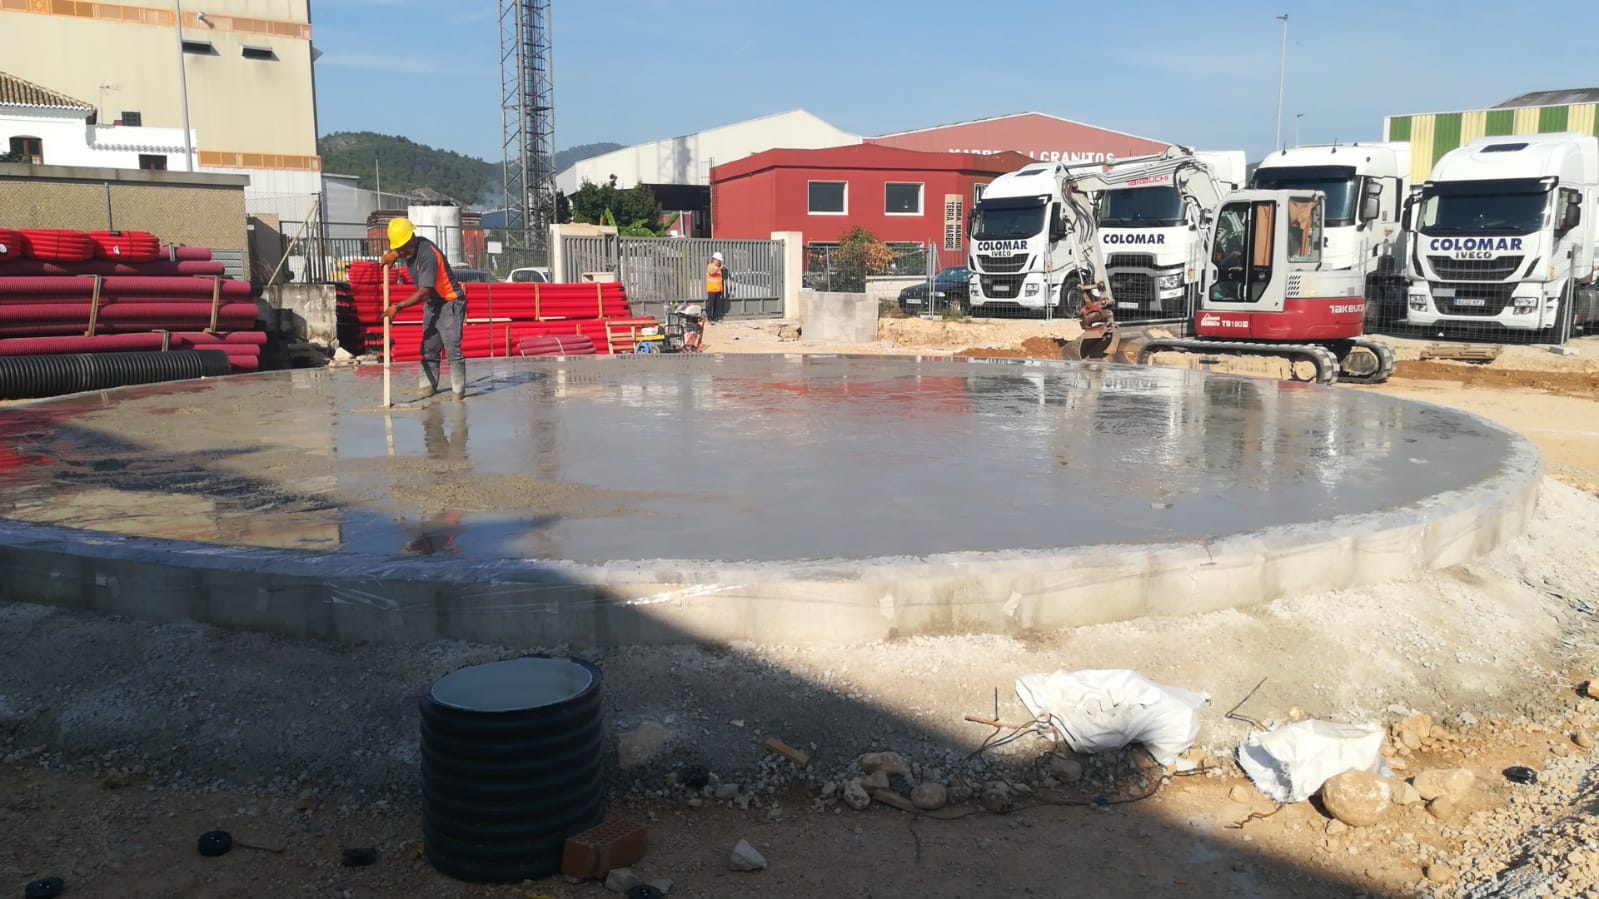
The foundation slab is the first step in the construction and installation of our water storage tanks. In this case, it is the customer's responsibility to ensure that the slab is properly finished so that the tank installation can begin.
The concrete base is specified in the drawings provided by Tankeros when ordering the tank. It is essential that the soil meets the minimum strength requirements, which consist of reaching a minimum strength of 1.5 Kg/cm2. For the installation of the tank, the customer must have subcontracted or performed the necessary civil works at his own expense.
The foundation must be completely clear, i.e., free of formwork, rebar and any other material that may interfere with the installation of the water tank. The dimensions, leveling and other requirements of the slab must comply with the technical documentation provided by Tankeros to ensure proper execution.
ASSEMBLY PROCESS